Jihosoft SWF Converter User Guide
- Part One: How to Convert Local & Online SWF to Video
- Part Two: How to Edit and Customize Imported SWF File
Part One: How to Convert Local & Online SWF to Video
The brand-new and intuitive user interface of SWF Converter will let you easily control the conversion process. You can finish the conversion within four simple steps.Download SWF Converter
Download and install the free trial version of Jihosoft SWF Converter into your computer. Run it, you will see its main interface as below.
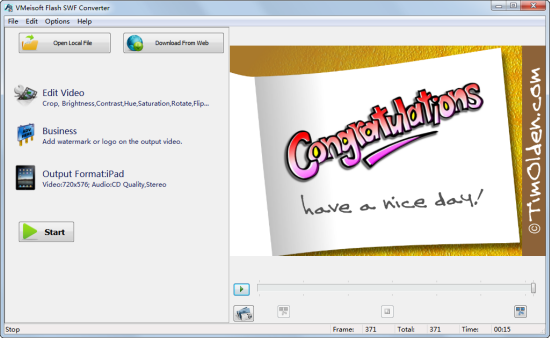
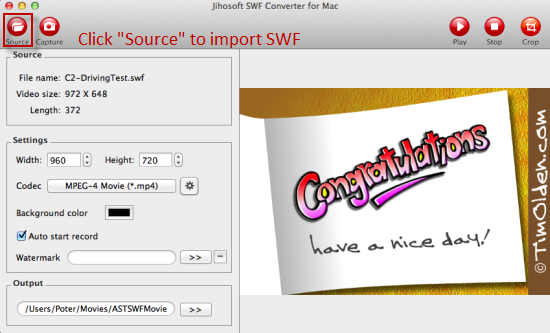
Import SWF File
Click the "Open Local File" button to load local SWF file from your computer directly. Or you can click "Download From Web" button to download online SWF video.
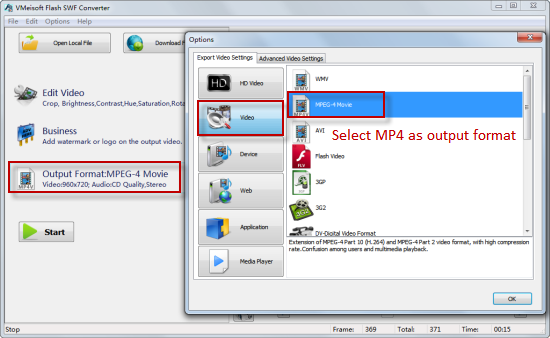
Select Output Format
Jihosoft SWF Converter supports a wide range of output profiles. Click on "Output Format" then "Video" to select MP4 or AVI etc as output format.
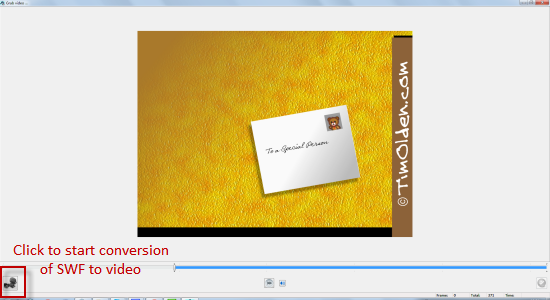
Convert SWF to Video
Click "Start" to enter into the Grab video window. Then click the start icon to begin the conversion of SWF to video.
Part Two: How to Edit and Customize Imported SWF File
Advanced video editing functions are provides by SWF Video Converter. You can free edit and customize the imported SWF file according to your needs.
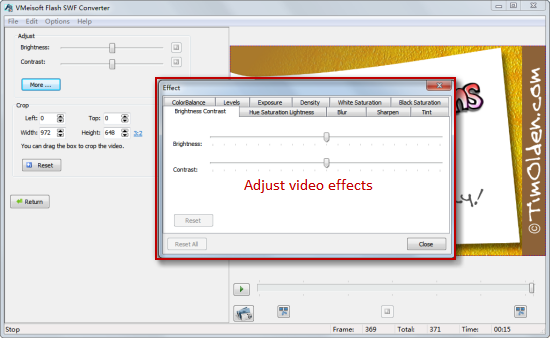
Adjust Effect:
This SWF to Video Converter allows you to adjust the video brightness, contrast, saturation, etc.
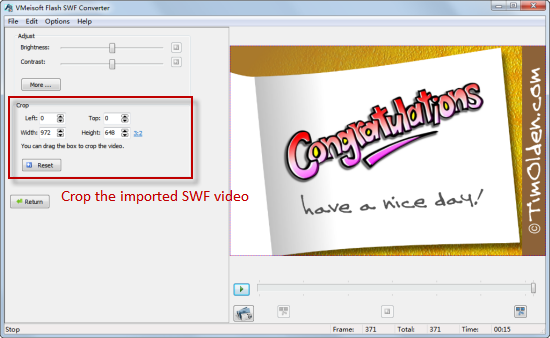
Crop SWF:
You can directly drag the box or set the "Left", "Top", "Width", and "Height" to crop the SWF video.
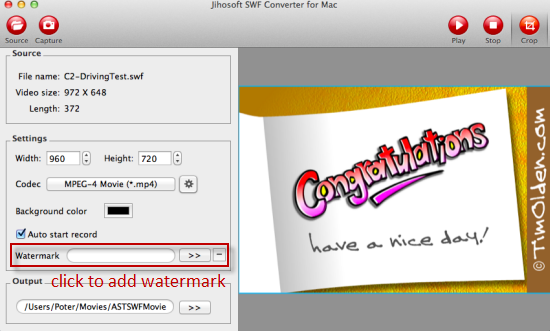
Add Watermark:
Select a picture from computer and insert it as an image watermark. You can change the watermark transparency, size, and position.
Advanced Video Settings:
After make the export video settings, click on "Advanced Video Settings" to adjust the codec, resolution, frame rate, bit rate, etc.
