User Guide
- Part One: How to Convert SWF to Video on Mac OS
- Part Two: How to Customize Imported Video before Conversion
Part One: How to Convert SWF to Video on Mac OS
Download SWF Converter for Mac
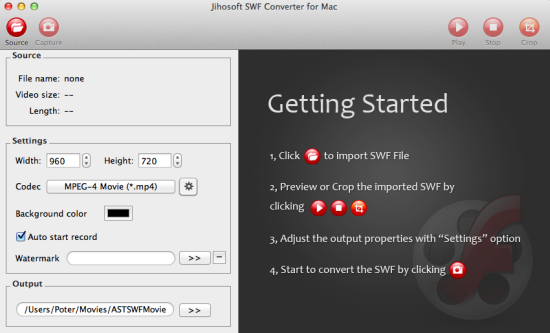
Free download Jihosoft SWF Converter for Mac and install it on your computer. Run it, you will see its main interface as below.
Import SWF File
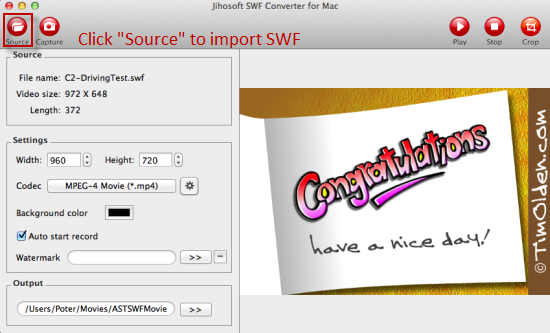
Click the “Source” button to load flash SWF file to the program. You can click on the “Play” button to preview the imported SWF video.
Select Output Format
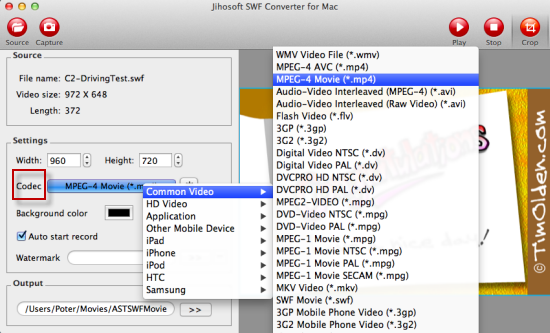
SWF Converter for Mac supports many output profiles, select MP4 or MOV etc as the output format from the drop-down list of “Codec”.
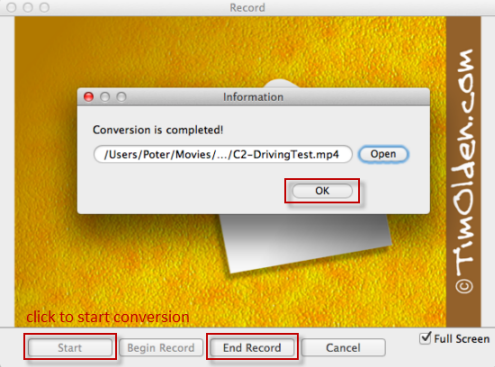
Convert SWF to Video on Mac
Click “Capture” to enter into the Record window. Then click “Start” to begin the conversion of SWF to video on Mac OS X.
Part Two: How to Customize Imported Video before Conversion
Jihosoft SWF Converter for Mac provides advanced video editing features so you can customize the imported video to make your own video.
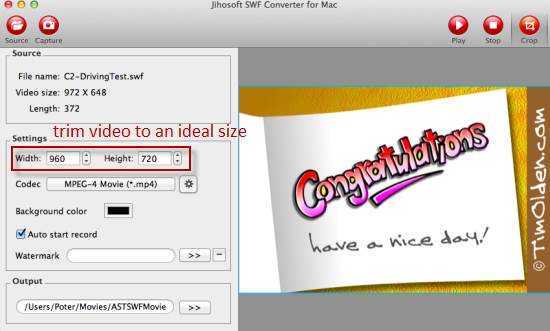
Trim Video
Set the “Width” and “Heigh” to trim the imported SWF video to an ideal size.
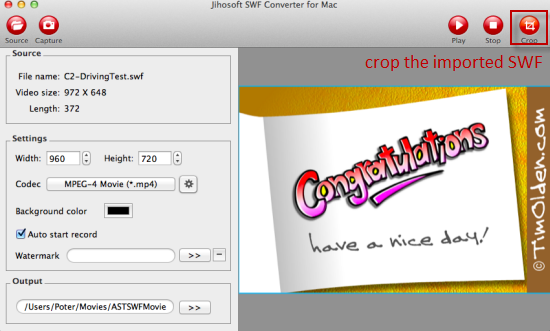
Crop Video
Click the “Crop” button and directly drag the picture frame of video to remove any unwanted places.
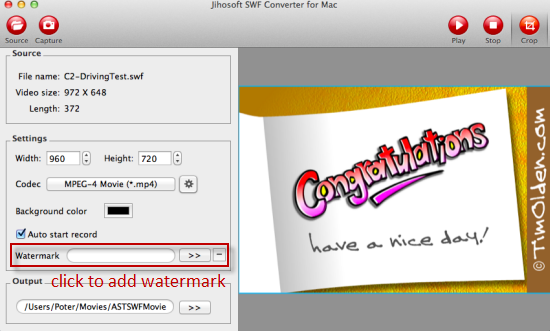
Add Watermark
Click “Watermark” to select a picture from your computer and change the picture transparency, size, position.
Adjust Output Video Parameters
After setting the output format, you can change the output video settings like video resolution, frame rate, sample rate, bite rate, audio channel, etc.

Watch the Video Demo