Smartphone Photography Tricks: How to Take Better Pictures with a Phone
Ever since the smartphones were launched, photography has become more accessible to regular users. And with the ever-improving cameras on smartphones, it is definitely reaching new levels of awesomeness. The cameras on the smartphones have become so good these days that they have easily replaced the point and shoot cameras, and even entry-level DSLRs in some cases, for many people.
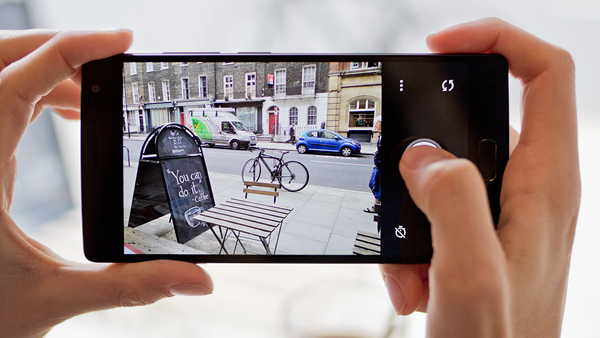
Thanks to constant improvements to camera sensors, Image signal processors and image processing algorithms, smartphone photography is growing by leaps and bounds every year. Though the smartphone cameras these days are quite smart at determining what the scene, being shot, is and adjusting the settings accordingly, it is still advised to keep a few things in mind to get the most out of the smartphone cameras. Certain smartphone photography tricks and tips, when followed, can deliver even better results than regular auto settings.
In this post, we will share certain smartphone photography tips and tricks you should follow to take good pictures of yourself or others with a camera phone.
Tip 1. Ensure Good Lighting
Presence of good lighting is very important for photography. Since a smartphone camera sensor processes the light it receives, having more light means the camera sensor can function at lower ISOs. This ensures that the image has low noise and there is a lesser need for the camera to apply noise reduction.
Noise reduction algorithms tend to reduce the amount of details present in the image. Hence, in good lighting, the images processed have low noise, are sharp and are full of natural details.
If the lighting is not adequate, or in low light conditions, always try and use some sort of additional light source, like a street light, indoor lights or flashlight of another phone falling at an angle, to have as much light falling on the subject as possible. Use the camera flash as well, if need be.
Tip 2. Tap To Focus
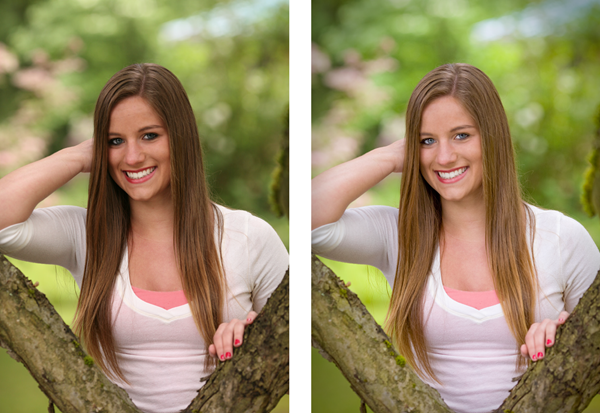
As good as the auto-focus on your smartphone may be, it is always better to tap and focus on the specific subject you want the camera to focus on. As a matter of fact, make it a habit to tap a couple of times on your choice of subject to ensure the focus is on what you want.

A correctly focussed image will yield a sharp image of the subject with loads of details present in the image.
Tip 3. Play With Exposure
When you take an image of a subject or a landscape, the camera by default takes an HDR image which balances the highlights and the shadows present in the scene.
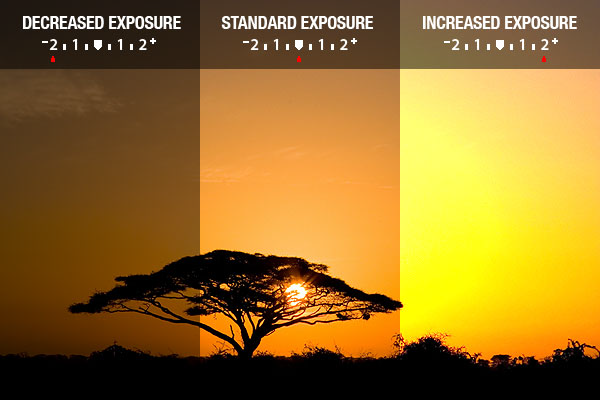
Even when you tap to focus, exposure levels change with the camera exposing for the subject in focus. Playing around with the exposure, using the exposure slider present on almost all smartphone camera apps, can allow you to take amazingly beautiful and unique images.
For example, by lowering the exposure, when shooting a subject against a setting sun, you can capture amazing silhouette images.
Tip 4. Rule of Thirds
Every smartphone camera app has an option to enable a grid in the viewfinder. The rule of thirds states that the subject should ideally lie on any of the 4 intersecting points of the grid lines.
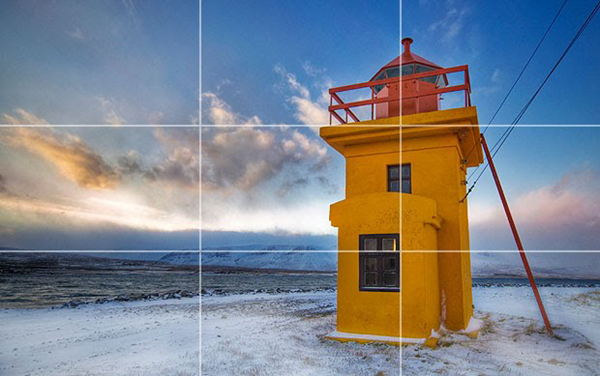
Extensive research has found that when the subject is framed in this way, the resulting image gets a lot of character and has a unique story to share. It adds the extra wow factor to your image and makes it stand out. A regularly centred image looks boring in comparison.
Tip 5. Candid Photography
Candid photography is a kind of photography that is real and at the time. There is no rigid pose or fake expression, but only true, genuine feelings of the subjects. The subjects may know you are there shooting them, but they are not taken out of the moment by a camera’s presence.

Get close, engage your subjects, and take advantage of candid photography techniques. This work for all types of photography to make your photos feel like part of the moment. Also, such images are loved by everyone.
Tip 6. Editing
No matter how good the image processing algorithms of a smartphone camera are, every image can utilize a bit of a touchup/post-editing to enhance it even further. Here are the Best 6 Photo Editors for you to use to perfect your photographs.
Certain tips you can utilize while editing a photo are:
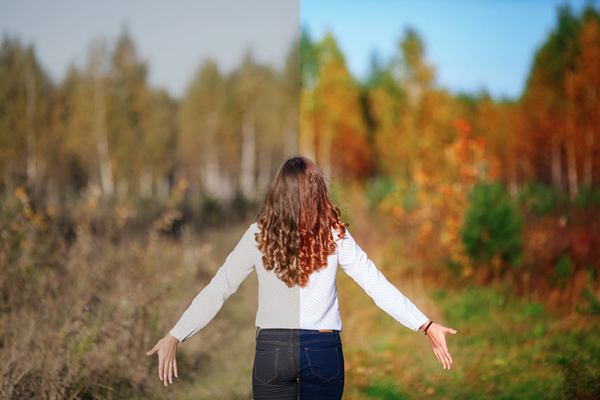
- If you are editing a landscape image, try to get an image with a higher dynamic range. To do that, you can boost up the shadows, lower the highlights and add clarity to the image for extra detail and sharpness. You can also increase saturation slightly for added punch.
- When editing a portrait or candid photo, it is better to enhance the subject in focus. In this case, you can add some contrast, lower clarity to give a soft look to the face and also add some vignette to focus more on your subject.
- If your image has some unwanted objects or some text you want to remove, you can use powerful editing tools like Photo Eraser to enhance your image further by erasing the unwanted stuffs appearing in your photo.


Tip 7. Shoot RAW, if possible
Many smartphone cameras now allow you to capture images in RAW. RAW is basically an image format that represents a negative but in digital form.
Back in the days of film cameras, everything was shot on negatives that were then developed into regular images.
The concept of RAW is the same, just ported over from film to digital. When you shoot in RAW, all the data, that a sensor has captured, is saved as a digital negative. Now, you can edit this digital negative on any image editing app, like Snapseed. When you edit the image and boost its shadows or lower highlights, the details are preserved without generating noise.
When you finally export the image as a regular JPEG file, you get a much cleaner and more detailed image than what the auto mode of the camera would produce.
Final thoughts
Thanks to amazing camera present in smartphones these days, photography has become very simple and easy. Almost everyone is a photographer these days.
However, if you want to rise above this ocean of regular smartphone photographers, you should definitely start following the smartphone photography tips and tricks we have mentioned in this article.
Forcing yourself to use these tips, every time you shoot an image will add them to your habit which will only help you in the long run.