How to Root and Unroot Your Android Phone 2019
You’ve probably heard of people root or unroot their Android smartphones and tablets before. Really, root has both pros and cons. However, some may posit that the pros for rooting outweigh the cons by far. Who wouldn’t want the access and freedom to their Android device, especially that you can even unroot your phone if you are no longer need the root access? How about all the customization and tools that rooting allows for? Despite manufacturers’ efforts to make phones more secure and harder to hack, rooting has surprisingly become even easier.
You’re in luck. Here you can learn more about how to check your phone’s root status, and how to root and unroot Android 8.0/7.0/6.0/5.0.
Part 1. Everything You Need to Know About Root
What is Rooting?
In this day and age, it’s almost unfathomable to see someone running an Android phone with an unrooted stock ROM. Granted, their reasons for not rooting could be because they’re unfamiliar with rooting or they like the security that using an unrooted virgin device gives them.
Android rooting is the process of allowing users of smartphones, tablets, and other devices running the Android operating system to obtain unlimited control over Android’s sub-system. Basically, rooting means obtaining “Superuser” rights and permissions to Android software. It’s similar running programs as administrators in Windows. Once rooted, the Android owner will have more control over many settings, features, and performance of their device.
Why Root Android?
There are lots of incentives that make you want to root your Android phone. You will gain the ability to load custom software (ROM’s), install specialized tools, get rid of preinstalled bloatwares, boost battery life, improve the performance (speed), update to the latest version of the Android OS, free up system memory, and easily backup all of your apps and data. In one word, rooting Android comes with hundreds of benefits.
There are many Android rooting software available to make the Android root process easier. If you’ve finally made up mind to perform it and wonder how to safely root Android, below we recommend some best softwares to root Android phone. Here you can know more details about how to root Android with/without Mac, and how to root Samsung Galaxy phones.
Part 2. 7 Best Android Root Softwares
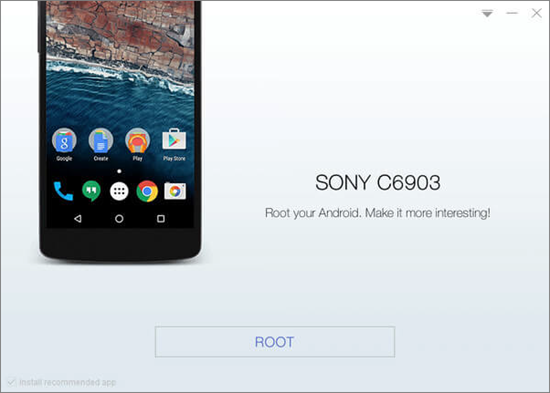
#1 Kingo Root (Free)
Kingo Android Root may be one of the best rooting apps for Android, which helps to root your Android phone free of cost without any risk. It supports almost any Android device with any version, automatically detects any Android device connected to computer and start the rooting or unrooting process with one click.
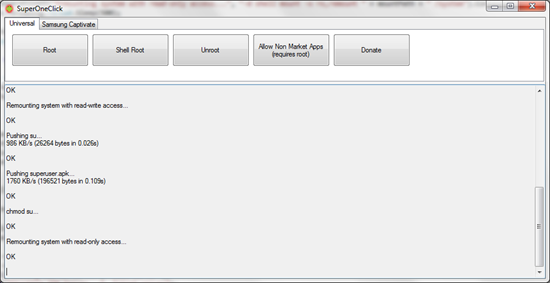
#2 SuperOneClick (Free)
SuperOneClick is another great one-click Android rooting software by XDA developer. It allows partial or full rooting and also enables unrooting. It supports a wide variety of popular Android devices.
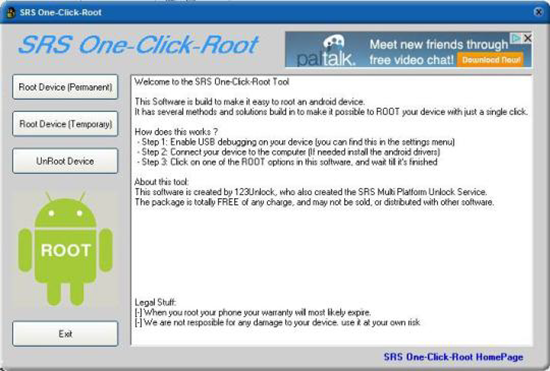
#3 SRSRoot (Free)
SRSRoot is a super easy one-click tool for rooting any of your Android phone and tablet. This software has multiple exploits to gain root access on your device. Also, this tool provides you option to unroot your device just by make one click.
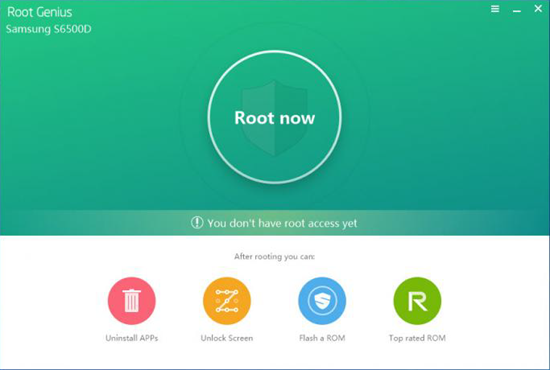
#4 Root Genius (Free)
Root Genius is a smart Android root app as its name indicates. It’s simple enough to use and enable you to flash custom ROM, and remove built-in-apps after rooting. In addition, it also provides an Android app version for those who want to root Android without PC.
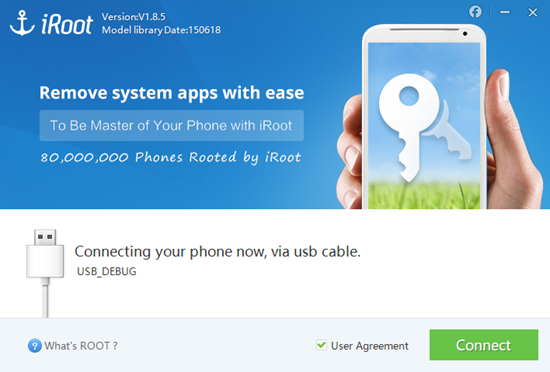
#5 iRoot (Free)
iRoot is also a powerful root software free of charge, but it promises you a high success rate of rooting Android. APK version is also available for users who need to root Android without computer.
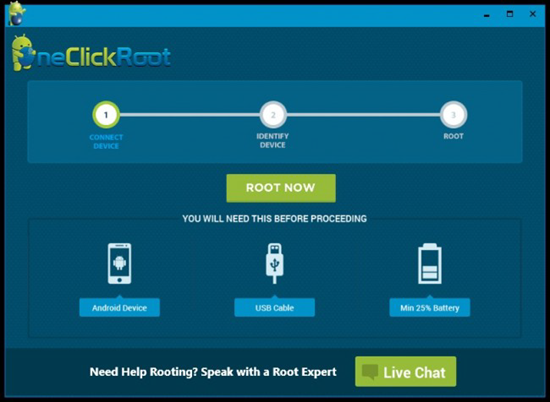
#6 One-Click Root ($29.95)
One-Click Root is one of the most popular software for rooting Android devices. This one-click rooter makes it easy to root Android phones and tablets, and you can get access to lots of its new and amazing features.
#7 CF Auto Root
A great tool for rooting your Android device with PC is CF Auto Root. It was developed by Chainfire as a means to make rooting easier for beginners. At first, it was aimed at Samsung Android devices but over the years, Chainfire started including more support for more devices.
While it’s impossible to have a one root all method because there are so many different Android devices and versions, CF Auto Root’s support range is far and inclusive. If you’re using a popular device, then chances are that CF Auto Root will work for you.
In the next part, we will guide you through how to root Android with CF Auto Root and root Samsung phone with Odin.
Part 3. How to Root Android and Samsung Phone with PC?
Rooting is more or less a risky procedure, for example, CF Auto Root works by unlocking your phone’s bootloader which may cause your device to erase and lose data (if your bootloader isn’t already unlocked). So you should remember to make necessary preparation before rooting, such as to backup your Android device in case of unexpected data loss during the rooting process.
But rest assured, you can still recover the deleted data from Android after rooting, with Android Phone Recovery.
Prerequisites of root Android phone:
- It should go without saying but you’ll need a computer to follow the steps of this tutorial.
- Ensure that you have a reliable and sturdy USB cable.
- Verify that your Android device has at least 60% of charge.
- Ensure that your device’s carrier (if it has one) allows you to unlock the bootloader. Generally Sprint and T-Mobile are lax but AT&T and Verizon can be strict when it comes to bootloader unlocking.
- Make sure that you have the latest USB drivers for your phone installed on your computer.
Option 1. How to Root Android with CF Auto Root?
First you have to verify that you have the right version of CF Auto Root for your phone. If you don’t then download the right version by doing this:
In order to download the correct version for your phone, you need to know the pone’s model number and Android version. You can find your model out by going to Settings > About > Model No./Device Model.
Your Android Version can be viewed from: Settings > About > Android Version.
Then head on over to the CF Auto root’s firmware website to download the right version. Input your device model into the device search bar and select your device from the auto list. The next page will take you to all the different versions of CF Auto Root you can download for your phone. Scroll down and select a download for your version of Android.
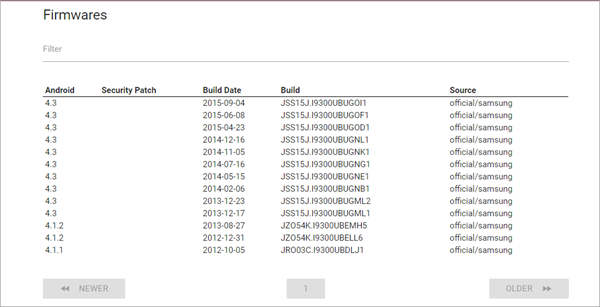
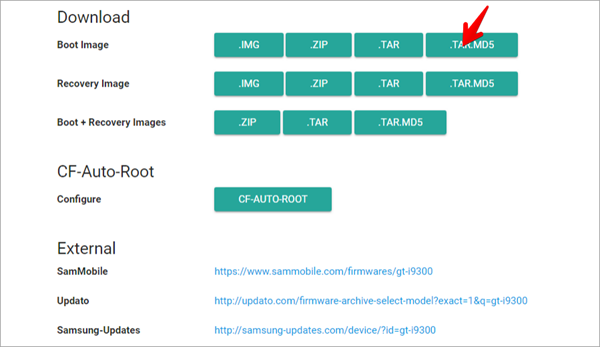
The next screen will allow you to choose in what package or image you want your download in. Choose the .TAR.MD5 boot image, give it a while to generate and then it will download.
Now, let’s begin rooting your Android phone with CF Auto Root:
Step 1. Put your device into bootloader mode. Power it off then press and hold the volume down and power button simultaneously.
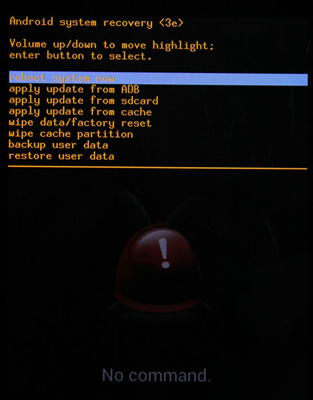
Step 2. Once you’ve successfully arrived to the bootloader screen, connect your USB cable from your phone to your computer.
Step 3. Unzip the CF Auto Root folder you downloaded for your phone and version. Amongst the files and folders within the extracted directory, you should find three —root-linux.sh, root-mac.sh, and root-windows.bat. Run the script that correlates to your operating system.
From there on, it will display a command prompt window that informs you that it’s going to unlock your bootloader and ask for permission to continue. Your phone should flash on and off and display walls of programming texts before finally restarting and booting into your ROM.
Option 2. How to Root Samsung with Odin?
If you’re using a Samsung Device, then you’ll have to download the latest version of Odin. Then here are the steps to root Samsung phone with Odin:
Tip: Your Samsung phone stuck on Odin mode? How to Exit?
Step 1. Put your Samsung device in download mode. You can achieve this by powering your phone off then pressing and holding the volume down, home, and power buttons simultaneously.
If you’ve followed these instructions properly, your phone should display a warning message. Press the volume up button and enter into Download Mode. Once your phone is in Download mode, connect it to your PC, using your USB cable.
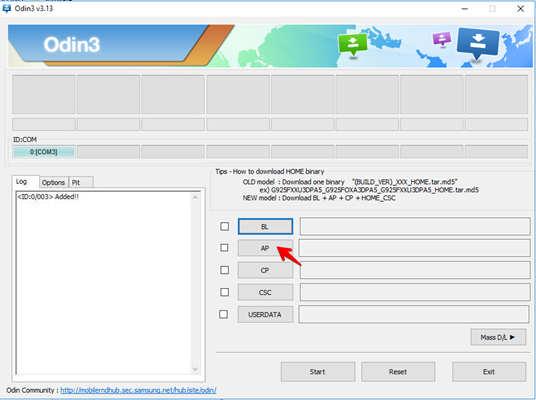
Step 2. Next, run Odin the latest version of Odin as an Administrator (right+click > run as administrator)
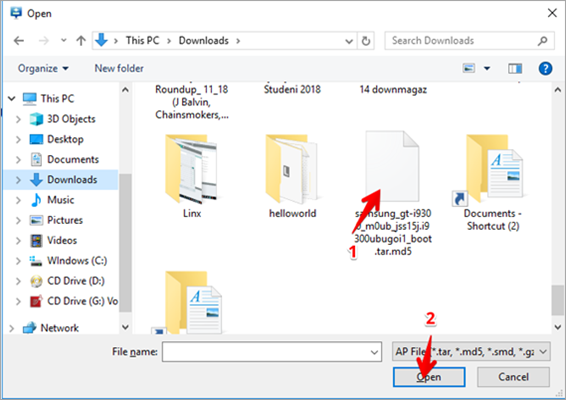
Step 3. Once Odin is running, wait for it to register and detect your device. You’ll know that it has successfully done so once the box under the “ID:COM” field turns blue. Once that is done, click on the “AP” button near the middle of the screen.
Step 4. Navigate to where you downloaded your CF Auto Root package and select it.
Step 5. Once that’s done, it will verify the package. After it’s done verifying the package, you can then click on the start button at the bottom. Once you do that, the entire root process will run automatically in just a few seconds. After completion of the entire process, your device should reboot and start up normally. You can then check the root status of the device.
Part 4. How to Unroot Android?
Even though rooting Android gives you unlimited control over your device, but rooting will immediately voids your phone’s warranty. Also, rooting involves the potential risk of “bricking” your device, increase risk of unknowingly installing malicious software, and runs the risk of introducing a virus. So it is recommended to unroot Android right after you finish using the root access. Then how to clean up root from Android?
Most of the Android rooting softwares we introduces above also act as Root Remover, offering users unroot option, such as Kingo Root, SuperOneClick, SRSRoot and One-Click Root. Here we take Kingo root for example, and show you the steps to remove root from Android with ease.
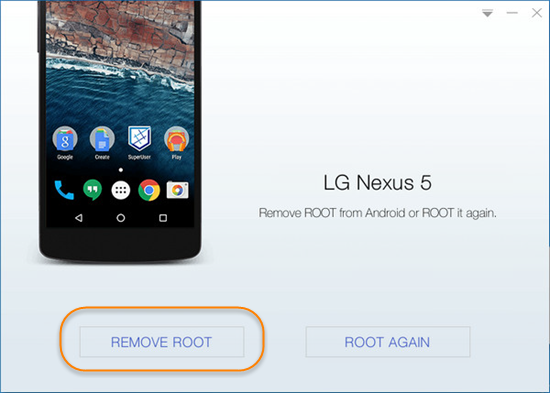
- Step 1. Open the Kingo Root on your computer and connect your phone to PC via a USB cable.
- Step 2. When Android is successfully detected, the tool interface will show your the root status of your device.
- Step 3. Click “Remove Root” to start unrooting Android phone.
Part 5. How to Check Android Root Status?
Once you’ve rooted your phone, you can check root status on Android. Normally, there is no apparent indication whether an Android device has root access or not. Then how to check if your phone is rooted or not? Below are 3 simple methods to check that.
Also Read: How to Check Android Phone is Locked or Unlocked
Method 1. Check the application named “SuperUser” or “SU”. Usually, during the process of rooting the Android, that application will be installed (but not always). if you can see that superuser program installed, then your phone is most likely rooted.
Method 2. You can directly make use of Android root checker tools to check if your Android is rooted. There are lots of these tools available in the app market, such as Root Checker.
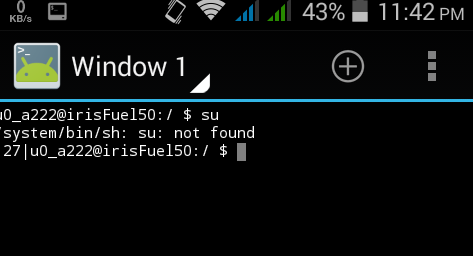
Method 3. On your phone, install a “Terminal” client, which is a text-based window allowing us to run commands on Android devices. Run this app, if you see “#”, then your Android has root access. If there is “$”, then the phone hasn’t been rooted.